DjangoをCGIで動かすのはパフォーマンスの観点からあまりオススメできないのですが、ちょっとした小さいプロジェクトを手軽に公開するのにConoha Wing上のCGIで動かすのは悪くない選択肢です。
目次
作業の流れ
- Pythonのバージョンを上げる
- Djangoプロジェクトを作成する+venv環境
- index.cgiの設置と.htaccessでの設定
- Django settings.pyの最低限の設定
Pythonのバージョンを上げる
Conoha WingへSSH接続してpythonのバージョンを確認してみます。
$ python -V
Python 3.6.11 # 古い…
実はConoha Wingには比較的新しいバージョンのpythonがインストールされていますので確認してみます。
$ which python
/usr/local/bin/python
$ ls -l /usr/local/bin/python
lrwxrwxrwx 1 root root 31  9月 11  2020 /usr/local/bin/python -> /opt/alt/python36/bin/python3.6
$ ls /opt/alt/ | grep python
python27
python311
python36
python37
python38
$ /opt/alt/python311/bin/python3 -V
Python 3.11.5
Python 3.11を使っていきます。
Djangoプロジェクトを作成する+venv環境
Djangoプロジェクトを保管するディレクトリをホームディレクトリに作成します。
$ mkdir djangoproject
$ cd djangoproject
$ pwd
/home/aruita/djangoproject
Django等のライブラリをローカルに保存するのにvenvを使用します。
$ /opt/alt/python311/bin/python3 -m venv venv
$ . venv/bin/activate
(venv) $ python -V
Python 3.11.5
(venv) $ which python
~/djangoproject/venv/bin/python
Djangoをインストールします。
(venv) $ pip install django
...
Successfully installed asgiref-3.8.1 django-5.0.4 sqlparse-0.4.4
mysiteという名前のプロジェクトを作ります。
(venv) $ pwd
/home/aruita/djangoproject
(venv) $ django-admin startproject mysite
(venv) $ cd mysite
(venv) $ pwd
/home/aruita/djangoproject/mysite
index.cgiの設置と.htaccessでの設定
次に、公開ディレクトリにindex.cgiを作成します。公開URLはexample.comとします。適時読み替えてください。
(venv) $ cd ~/public_html/example.com
(venv) $ vi index.cgi
コードはgithubに公開されている django-python3.cgi を参考にします。
https://github.com/chibiegg/django-cgi/blob/master/django-python3.cgi
#!/home/aruita/djangoproject/venv/bin/python
# 仮想環境Pythonのフルパス
import os, sys

sys.path.append("/home/aruita/djangoproject/mysite") # Djangoプロジェクトのルートディレクトリ

def run_with_cgi(application):

    environ                      = dict(os.environ.items())
    environ['wsgi.input']        = sys.stdin.buffer
    environ['wsgi.errors']       = sys.stderr.buffer
    environ['wsgi.version']      = (1,0)
    environ['wsgi.multithread']  = False
    environ['wsgi.multiprocess'] = True
    environ['wsgi.run_once']     = True

    if environ.get('HTTPS','off') in ('on','1'):
        environ['wsgi.url_scheme'] = 'https'
    else:
        environ['wsgi.url_scheme'] = 'http'

    headers_set  = []
    headers_sent = []

    def write(data):
        if not headers_set:
             raise AssertionError("write() before start_response()")

        elif not headers_sent:
             # Before the first output, send the stored headers
             status, response_headers = headers_sent[:] = headers_set
             sys.stdout.buffer.write(('Status: %s\r\n' % status).encode("ascii"))
             for header in response_headers:
                 sys.stdout.buffer.write(('%s: %s\r\n' % header).encode("ascii"))
             sys.stdout.buffer.write(('\r\n').encode("ascii"))

        sys.stdout.buffer.write(data)
        sys.stdout.buffer.flush()

    def start_response(status,response_headers,exc_info=None):
        if exc_info:
            try:
                if headers_sent:
                    # Re-raise original exception if headers sent
                    raise exc_info[0](exc_info[1]).with_traceback(exc_info[2])
            finally:
                exc_info = None     # avoid dangling circular ref
        elif headers_set:
            raise AssertionError("Headers already set!")

        headers_set[:] = [status,response_headers]
        return write

    result = application(environ, start_response)
    try:
        for data in result:
            if data:    # don't send headers until body appears
                write(data)
        if not headers_sent:
            write('')   # send headers now if body was empty
    finally:
        if hasattr(result,'close'):
            result.close()

os.environ['DJANGO_SETTINGS_MODULE'] = 'mysite.settings' # Djangoプロジェクトのsettingsモジュール
from django.core.wsgi import get_wsgi_application
run_with_cgi(get_wsgi_application())
index.cgiに実行権限を付与、.htaccessによる設定を行います。
(venv) $ chmod +x index.cgi
(venv) $ vi .htaccess
RewriteEngine on
RewriteBase /
RewriteCond %{REQUEST_FILENAME} !-f
RewriteRule ^(.*)$ index.cgi/$1 [L] Django settings.pyの最低限の設定
ブラウザで example.com へアクセスするとDisallowedHostのエラーになるので、settings.py内のALLOWED_HOSTSにドメインを追加します。
(venv) $ vi ~/djangoproject/mysite/mysite/settings.py#ALLOWED_HOSTS = []
ALLOWED_HOSTS = ['example.com',]
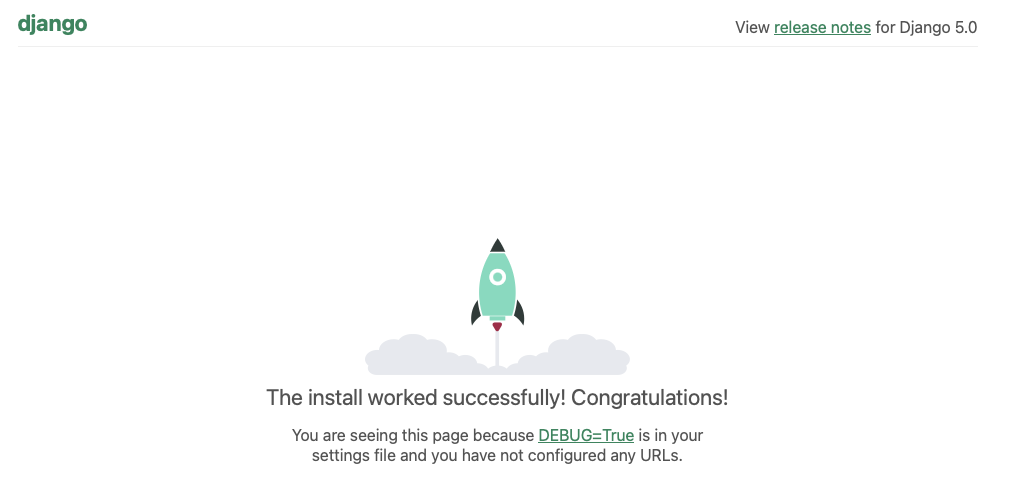
これで動作します。
